Coffee Cupping
What is Coffee Cupping?
As coffee roasters, we spend time each day cupping coffee. Cupping differs from just drinking coffee for enjoyment (though we do that too), so different in fact that we spit most of it out!

Coffee cupping is how we taste and assess coffee in a professional and structured way. The point of cupping coffee is to see what the coffee tastes like before you use different brew methods or add milk.
It’s a simple process involving a bowl, some ground coffee, hot water and a spoon. The simplicity allows us to taste the coffee itself rather than the brew method and the accessibility of the method means it is the industry standard all over the world.
The cupping protocol is used by the coffee industry for different reasons. We might cup a coffee to see if we are interested in buying it, to think about the brew method we would use it for, to see how our roasts have affected it or to see how it is tasting as it ages.
Green Coffee Cupping
Before we buy any coffee, we cup it first. Usually, that means we get sent a small pre-ship sample of green coffee. We roast the sample in our Ikawa sample roaster to a simple cupping roast profile and then we cup!
If the coffee suits our needs (and we like it) we commit to buying the coffee. This could be anything from two or three hundred kilos for a single origin or filter up to multiple tonnes for one of our espresso blend components.
Production Cupping
This is when we cup our roasts from the day before, to see how they hold up against the standard we have for that coffee. It’s the backbone of our quality control system and the best way to monitor our coffee and roast profiles. We continually taste our green beans throughout their time in the roastery to see if we need to adjust our roast profiles as they age.
Public Coffee Cupping
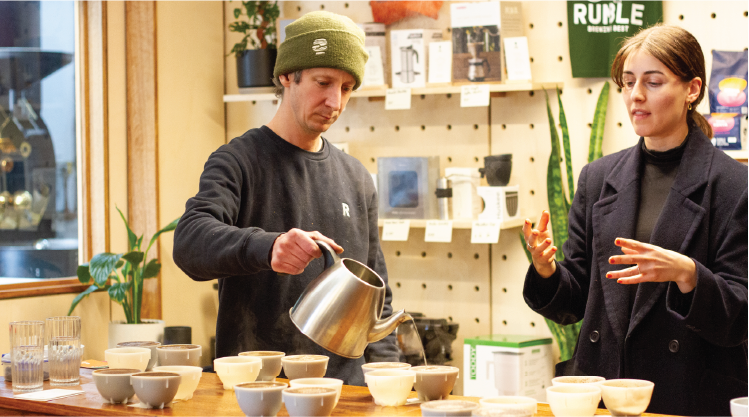
Public cuppings are events that are open to the public and are an amazing chance to learn about coffee, where it’s from, what processing means and how it tastes. If you want to learn more, or see when the next one is on, look at our Melbourne Coffee Cupping page.

Cupping equipment: everything you need to run a coffee cupping
-
Cupping bowls. At least one per sample but usually two and a third to hold clean, hot water for rinsing.
-
Scales. Always be weighing.
-
Coffee samples. 12g for each bowl plus a small amount to purge.
-
Grinder. We use the EK43 from Mahlkonig and use a coarse grind.
-
Kettles for pouring. We like Hario Buono pour over kettles as they allow superb control of the stream of hot water.
-
Hot water. And lots of it. We have a Zip hot water urn that provides plenty of water for large cuppings.
-
Timer.
-
Cupping spoons. Ordinary people would call these soup spoons, and they are both used for slurping.
-
Cupping table. Or anywhere that can hold a few bowls. Ours is nice and high so that you don’t need to bend too far down to the cupping bowl.
Coffee Cupping: How to
-
Weigh your samples and line them up in cupping bowls. We use 12g in each bowl to 200 ml of water. Set up two bowls for each coffee. This is to isolate any defects and give the coffee a better chance to shine.
-
Label the samples in a way to keep each coffee anonymous. Cupping is best done blind. If you know a certain coffee is a natural Ethiopian and you like Ethiopian nats, then you’re likely to give it a high score.
-
Grind your samples and use a small amount of coffee to purge the grinder between samples.
-
Once everything is ground, line up the two bowls for each coffee with a separate empty bowl behind them (this will be used for spoon rinsing). For our public cuppings, we do eight samples at a time to keep things manageable.
-
Work your way around and smell each bowl to assess the dry aroma of the coffee.
-
This is where you take notes on your cupping form if you’re using one. We’ll cover forms later on.
-
Now fill your kettle with boiling water. We use Hario brew kettles and fill them with our hot water urn.
-
Start your timer.
-
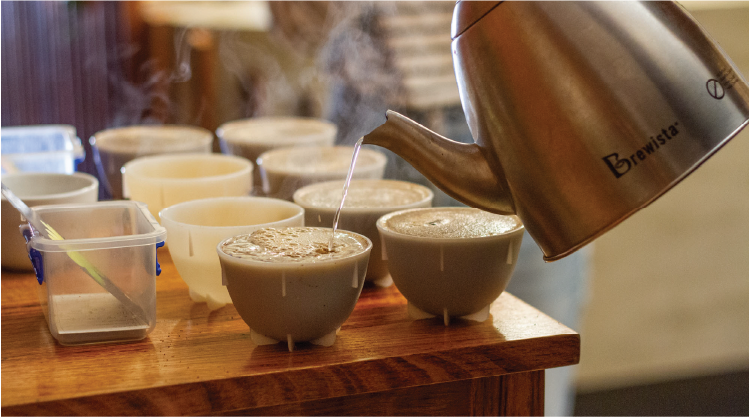
Start at one end of the table and work systematically. Fill each cupping bowl to the top, pouring quickly and vigorously to ensure all the coffee is agitated and saturated. Move from one bowl to the next without stopping. The brewing method is simple, but you still need to be consistent and take the same time to fill each bowl. It helps if you have someone to assist by filling up kettles with hot water.
-
Now you can smell the wet aroma of the coffee. Lower your nose to right above the cupping bowl and breathe in.
-
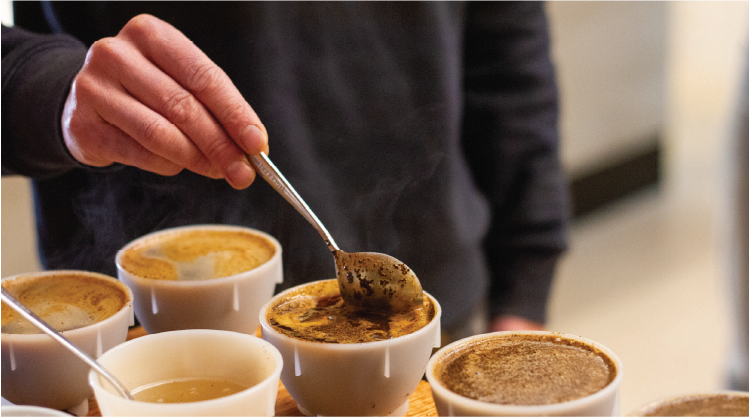
After four minutes, break the crust. This involves stirring through the coffee with the flat of the spoon and going down to the bottom of the bowl. Do four stirs for each bowl and do it in the same order and at the same speed as you filled them up. We are trying to have each coffee brew for the same time and in the same way. The coffee cupping process is simple, but it also needs to be consistent.
-
Rinse your spoons in a bowl of clean hot water between each sample. We do this all the way through. You do not want to contaminate the next sample with the previous coffee.
-
Skim the surface of each bowl. It works best if someone follows along behind you and skims the bowls straight after you stir.
-
When the timer hits ten minutes, you can cup. The coffee will be hot but still palatable.
-
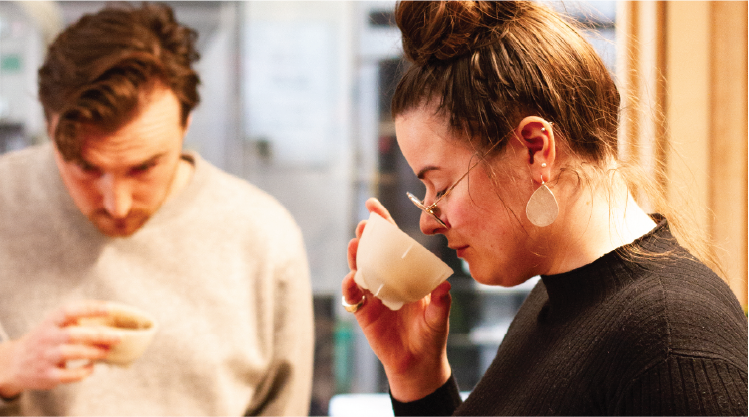
Get a small amount of liquid on your spoon and slurp it violently into and around your mouth. Don’t be shy about it. You want to aerate the sample in your mouth to activate your retro nasal olfaction and fully appreciate the flavours in the cup.
-
Score the coffee sample. If you are using a cupping form, then you assign points to the coffee as you work through the cupping process. Unique attributes are worth more or less depending on the form and you look at things like sweetness, acidity, aroma and clean cup. This is where the grading of specialty coffee comes from. Anything over 80 points is a ‘specialty coffee’ and higher scores are assigned to ‘better’ coffees.
Cupping forms
There are a variety of different forms used for cupping. Think of each of them as a different tool that lets you focus on the coffee differently. Cup of Excellence (COE) and Specialty Coffee Association (SCA) each have different forms and a roastery looking at production roasts is focused on very different things than a group of new cuppers in a public cupping. Learning how to use the SCA or COE form properly takes study and lots of practice.

What grind to use for a cupping?
Use a medium-coarse grind, similar to what you use for pour-over.
How to Learn more about Cupping?
If you want to learn more about cupping the Specialty Coffee Association sell an excellent book called The Coffee Sensory and Cupping Handbook.
Or read more about becoming a professional coffee taster from our roaster Alex as he recounts passing his Q grade exam here.

But the best way is to get yourself to a cupping session. We hold our own regular cupping/tastings and you can book them on our Eventbrite here. But so do other roasteries, check out Proud Mary or Market Lane.
Tasting fresh coffees in a structured fashion while following a cupping protocol is the best method to learn more about coffee. By combining all of your senses; smelling the dry fragrance of the ground coffee, looking at the coffee sample and often the green coffee beans, tasting the coffee itself and listening to the roaster explain why the coffee is on the cupping table you have a powerful learning tool.
